
Unlike zones, BloodHound does not use labels in risk analysis—they’re designed to help you organize and query your data.
- Summary View
- Detail View
The Summary View shows label names, selector counts, and member count.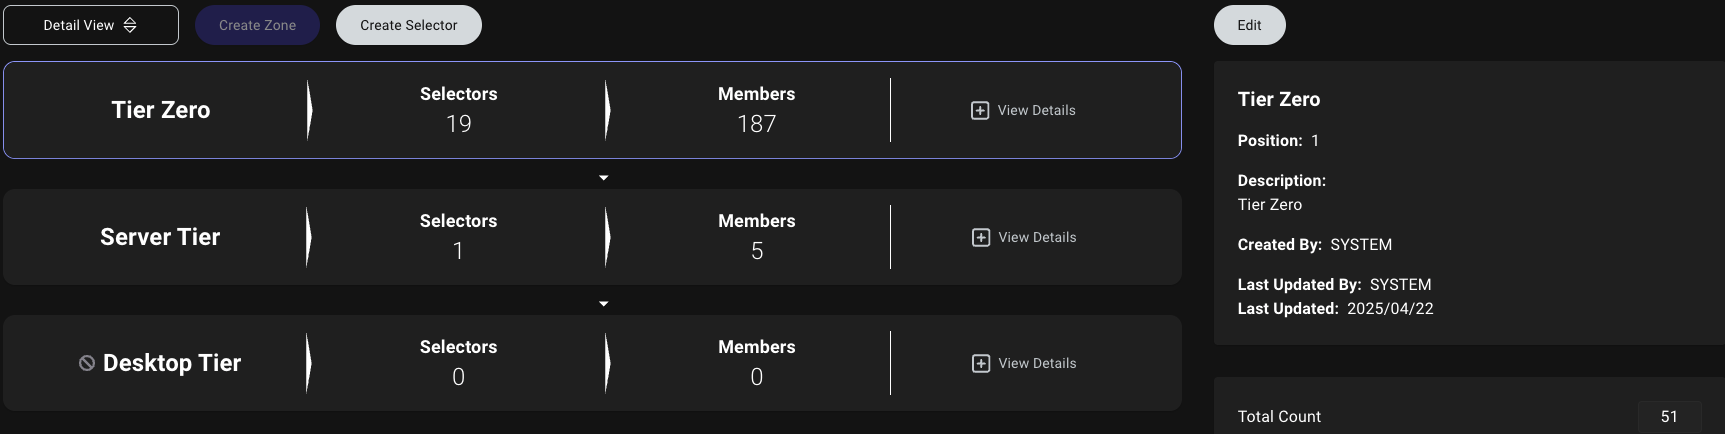
Create a label
Creating a label involves configuring the label details and defining a selector.1
Open the Privilege Zones page
In the left menu, click Privilege Zones > Labels > Create Label.
2
Configure initial label details
Enter all relevant information about the label:
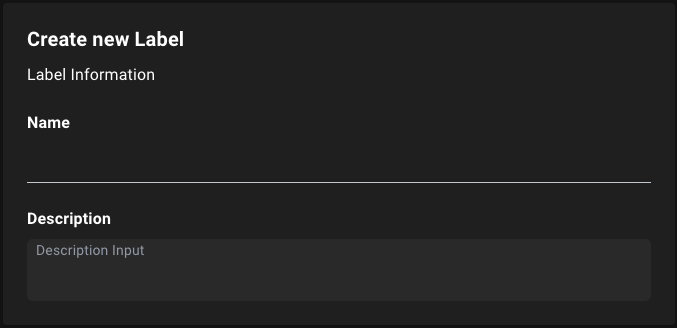
| Field | Required? | Description |
|---|---|---|
| Name | Yes | A unique name for the label (e.g., PCI) |
| Description | No | A brief description of the label’s purpose and scope (e.g., PCI assets) |
3
Define a selector
Click Define Selector to save your new label and continue on to define the objects to include in the label.When defining a selector during the label creation process, provide the following information:
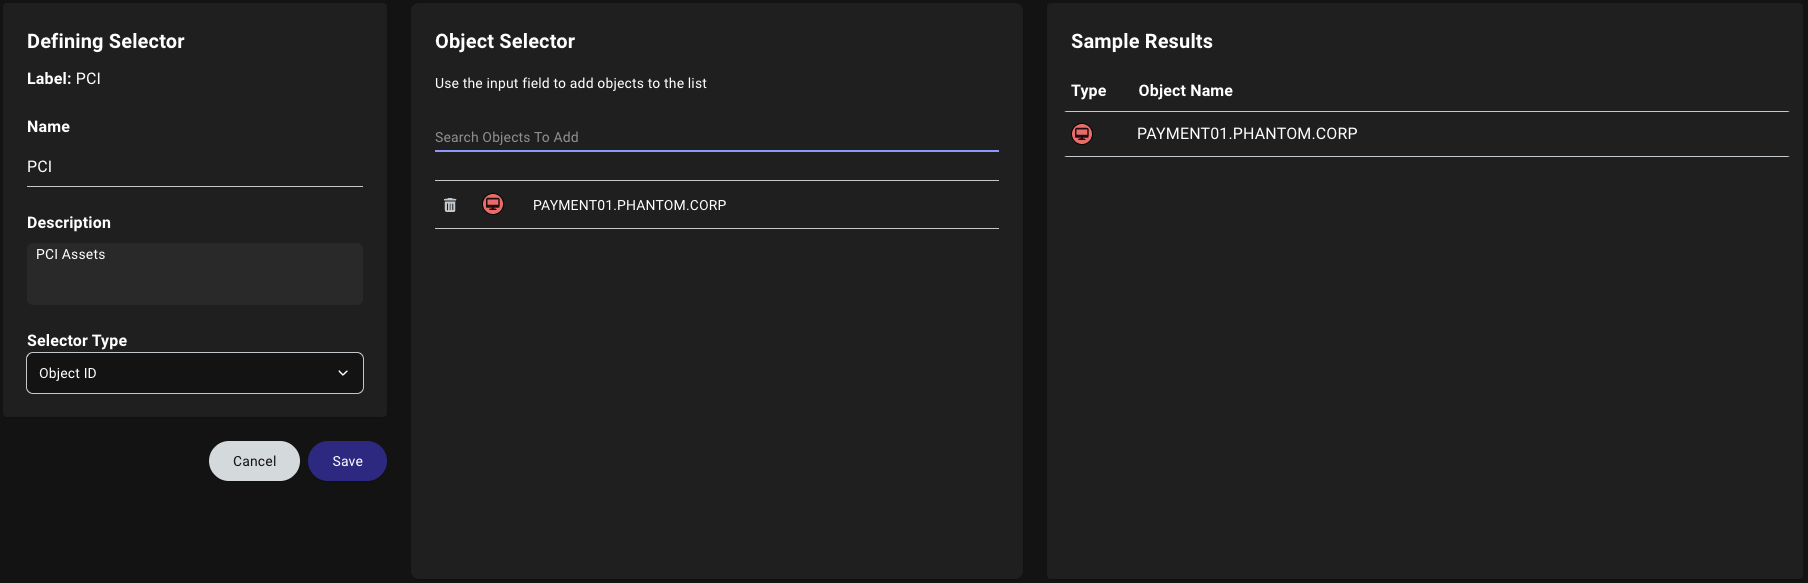
| Field | Required? | Description |
|---|---|---|
| Name | Yes | A unique name for the selector (e.g., PCI) |
| Description | No | A brief description of the selector’s purpose and scope (e.g., PCI assets) |
| Selector Type | Yes | The type of selector to use (e.g., Object ID or Cypher) |
4
Complete label creation
Click Save to finish creating the label.
Edit or delete a label
To edit or delete an existing label, follow these steps:1
Select a label
Navigate to the Privilege Zones page, select the label you want to edit or delete, and click Edit.
2
Edit or delete a label
Choose one of the following actions:
- Edit a label
- Delete a label
To edit the label:
- Modify the label’s name and description.
- Click Save Edits to apply your changes.